These are suggested days, not a speedrun checklist. If resources, money or prerequisites are missing, postpone that step. These quests do not expire because you finish a day later than this guide. This route covers introductory events without explaining late-game story reveals.
Already playing? Go straight to your next problem: expand a full backpack, check a character's gifts, or check dating and marriage requirements. The daily route below is for getting started; dating is not a first-week requirement.
After character creation: learn the controls before clearing the farm
Finish the opening sequence and keep your starting seeds and tools. You do not need to rebuild your character or clear the entire farm to follow this route.
| Action | Default PC input | What to look for |
|---|---|---|
| Move | WASD or arrow keys | Your character reaches the target |
| Talk or interact | E or right-click | A conversation or menu opens |
| Use a tool | Select it, then left-click; hold for charged actions | The tool acts on the facing tile |
| Change tools | Mouse wheel or hotbar number keys | The highlighted slot changes |
| Open map | M | Locate buildings and residents |
| Check quests | Esc, then the quest page | Read the current objective |
| Jump | Space | Your character jumps |
Show the complete practical PC control reference
Each action can hold two bindings in Settings → Controls. Highlight an action there and hold Backspace to restore its defaults. Empty entries below are unassigned by default; bind them only if they help your play style.
| Action | Default keyboard and mouse input | Practical use |
|---|---|---|
| Move | WASD or arrow keys | Walk in four directions. |
| Jump | Space | Clear small obstacles and reposition. |
| Interact | E or right-click | Talk, open, confirm or use the object in front of you. |
| Secondary interact | Q | Use an object's secondary action when one is offered. |
| Pick up one item | Right-click in inventory | Move one item instead of a full stack. |
| Split an item stack | Ctrl + right-click in inventory | Split a stack; this binding cannot be changed. |
| Open or close Journal | Esc | Open the pause menu or return from it. |
| Use charged tool | Hold left-click | Charge an upgraded tool before releasing it. |
| Use tool repeatedly | Unassigned | Bind it to hold one input for repeated swings; keep charged tool on a separate input. |
| Cast pinned spell | Hold C | Cast the spell pinned from the Journal. |
| Throw held item | G | Feed a machine or creature, or drop one held item where the prompt permits it. |
| Toggle walking | Ctrl | Switch the movement mode. |
| Mount | = | Mount or dismount after a mount is available. |
| Open map | M | Check residents, buildings and routes. |
| Switch Journal tab | [ and ] | Move between menu tabs. |
| Change appearance preset | , and . | Select the previous or next saved appearance. |
| Change toolbar item | Mouse wheel or 1–0 | Select a slot in the current toolbar tab. |
| Switch toolbar tab | Tab | Move to the next ten-slot toolbar page after a bag expansion. |
| Rotate placed item | R/right-click clockwise; Q counter-clockwise | Turn furniture while placing it. |
If you remapped controls, follow the equivalent action in your settings. Check the map rather than searching every building. The request board is in southeast town, between the General Store and the Mill.
Each morning, check mail and tend crops before choosing one main outing. Starting home around 10 PM is a suggested buffer, not a curfew. With default settings, passing out at 2 AM causes a later start and reduced condition the following day.
Spring 1: collect farm tools and plant a small patch
Use the first week's weather to plan your time. The checked Weather source lists this default opening sequence; it is not a forecast for every later week.
| Opening days | Weather | Practical adjustment |
|---|---|---|
| Spring 1–3 | Sunny | Water your crops yourself. |
| Spring 4 | Rain | Outdoor farm crops are watered automatically; use the saved time for the net and town errands. |
| Spring 5 | Sunny | Resume watering before going to the Inn. |
| Spring 6 | Breezy, with petals | Wind is not rain: crops still need watering. |
| Spring 7 | Storm | Crops are watered automatically. Keep any livestock indoors; pets do not go out to work in bad weather. |
Later forecasts are available by interacting with the Weather Crystal Ball once you have obtained it. The Accessibility option for weather particles only changes the visual effect; it does not change which fish can appear.
Bring: your starting seeds, Worn Hoe and Worn Watering Can. A shovel is not required to till existing dirt.
- Follow the introductions with Celine and Hayden to receive the hoe and watering can respectively. Confirm both are in your inventory.
- Find a small clear patch of existing dirt. Select the hoe and left-click the adjacent tile. Switch to seeds after the tile is tilled.
- Use seeds on tilled soil, then water the planted tiles. Planting does not water them. Refill the can at water when empty and finish the patch.
- Leave time to visit town. Accept Greet the Townsfolk at the request board and talk to residents you meet. It requires 22 introductions, not 22 introductions today.
- Return home and sleep. Check that crops are watered and tools have not been shipped. Do not spend all your energy clearing the farm.
Done for today: you can select tools, till, plant, water and check quests. Once all 22 introductions are complete, report to Adeline.
Spring 2: axe, pickaxe and Museum introduction
Route: farm → town board → Olric → Museum in the Narrows → farm.
- Follow Eiland’s morning visit to receive the Worn Axe. Chop ordinary trees; leave large stumps for upgraded equipment.
- Accept Do a Bro a Favor from the board. Find Olric on the map and talk to him for the Worn Pickaxe. This pickup does not require stone first.
- Read Errol’s Museum Donations Wanted letter. Visit the Museum in The Narrows, west of town, and speak to him.
- Back home, chop wood and break small rocks. Reserve 60 of each for the bridge. Continue tomorrow if energy runs low.
Check: both tools are in your inventory and Errol’s introduction is complete. Check new fish, bugs and artifacts for donations before shipping; you do not need to hoard every ordinary material forever.
Spring 3: repair the Eastern Road bridge, not the Beach bridge
Bring: 60 Wood and 60 Stone. Gather just the shortfall if you already saved some.
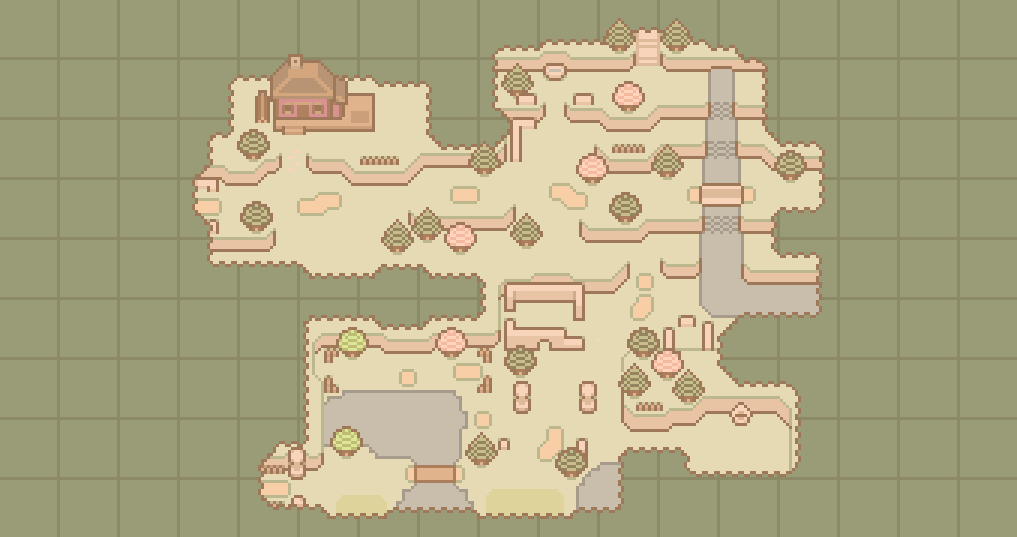
- Read Adeline’s letter and confirm Repair the Bridge in your quest log.
- Go to the damaged bridge on the Eastern Road and find its donation box. The Beach bridge is a different, later repair.
- Interact with the box and contribute the materials. Check the quest progress; dropping them on the ground does not donate them.
- Once both requirements are met, talk to Adeline to finish the repair sequence. Carrying the materials is not enough.
- The repair opens the Saturday Market. If short on supplies, make gathering the missing resource today’s main activity.
Check: the quest is completed and the route is usable. An unfinished repair can wait until tomorrow.
Spring 4: take the free net; buy a rod if you can afford it
Route: crops → board → Luc at the Inn → optional Beach Tackle Shop.
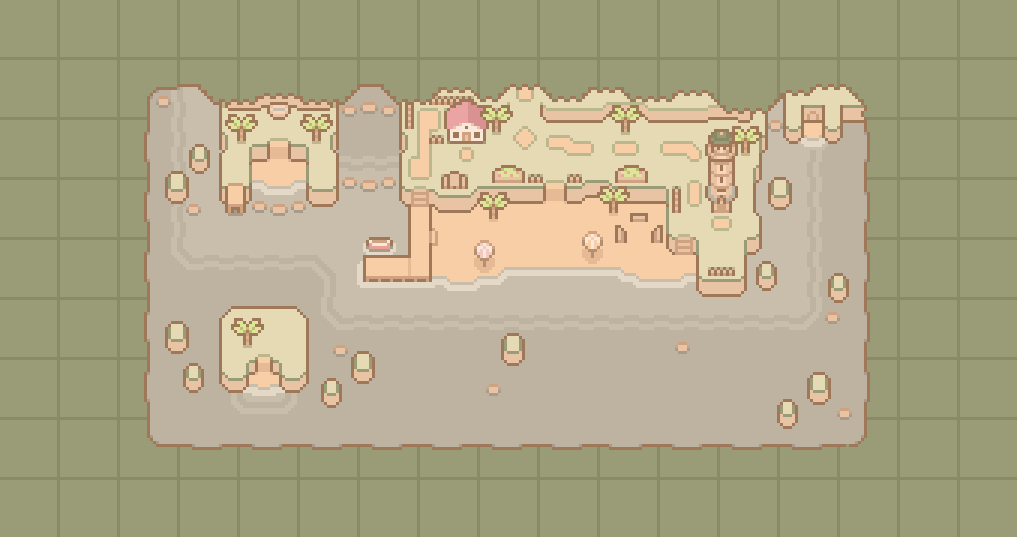
- Accept Something’s Bugging Me and meet Luc at the Inn for the Worn Net.
- Select the net when you spot a bug, approach and swing toward it. A successful catch gives you an item. Check new specimens for Museum donations.
- With 500t, visit the Tackle Shop at the Beach for the Worn Fishing Rod. Older guides may point to the General Store; locate the Tackle Shop building on the map instead.
- Select the rod and face a reachable shadow. Hold left-click to set distance, release to cast, then wait for “!” before left-clicking to reel in. A nibble alone is not the cue.
- Check the catch name and reserve a first Museum specimen. Use the full fishing atlas, filtered to spring and your water type. The four legendary fish are not the complete fish list.
Short on money? Take the free net and postpone the rod. You do not need every tool in the first week.
Spring 5: Juniper’s request and Friday at the Inn
Bring: one Lilac, if you already found one. Keep it instead of shipping it.
- Accept Stinky Stamina Potion and bring the Lilac to Juniper. If you have none, leave the request active.
- Rewards include recovery benefits, five free Bathhouse visits and the Weather Crystal Ball. Do not plan around these before handing in the request.
- Read Reina’s Friday at the Sleeping Dragon Inn letter. Visit the Inn after 6 PM and speak to Reina.
- Harvest only crops that are ready. Reaching day five is not a reason to remove an immature plant.
Missed the evening? The Inn’s Friday events continue on later Fridays. You do not need to restart or exhaust yourself to fit every visit into today.
Spring 6: mine introduction and the optional market
- Read Eiland’s The State of the Mines letter and meet him at the Museum to complete the prerequisite.
- Check Town Rank. After finishing that quest and reaching rank 10, Errol sends Unlocking the Mines. Follow it to meet Errol and Eiland at the entrance.
- With the Eastern Road bridge repaired, visit the Saturday Market. After Nora’s Greet the Vendors letter, talk to the four original vendors and report to Nora.
- Browse before spending; keep money for seeds and tools.
Below rank 10? Complete accessible requests, donate new specimens and ship produce to earn Renown. A closed mine on day six is a progression difference, not a broken save.
Spring 7: choose from your unfinished objectives
| Current state | Today’s action | Completion check |
|---|---|---|
| Bridge unfinished | Bring missing materials to its Eastern Road box; report to Adeline | Repair quest completed |
| Introductions incomplete | Find remaining residents on the map; report to Adeline afterward | All 22 introductions handed in |
| Mine introduction incomplete | Meet Eiland at the Museum | The State of the Mines completed |
| Introduction done, rank too low | Complete requests and donations with items you already have | Renown increases |
| Unlock letter received | Attend the entrance meeting; prepare pickaxe, weapon, recovery items and space | Mine entrance opens |
Owning a pickaxe does not make every mine trip safe. Read mines and seals before descending. When March sends Cop Some Ore, keep 3 Copper Ore for the request rather than selling your whole first haul.
By the end of the week, aim to understand crop care, tools, map navigation and quest hand-ins. Continue with town rank, seasonal crops and bag upgrades for progression, planting and storage.
If something is not working
| Problem | Check and next action |
|---|---|
| Seeds will not plant | Use existing dirt, hoe it first, then plant; a shovel is not needed |
| Cannot find the recipient | Accept the quest, then press M to locate the resident |
| Materials ready but bridge unchanged | Donate at the box, then talk to Adeline |
| Rank 10 but mines closed | Finish the Museum introduction, read the unlock letter, attend the meeting |
| Fish keeps escaping | Wait for “!” rather than reeling during a nibble |
| Not enough time each day | Keep watering, choose one outing; day-length changes take effect after sleep |
What happens if you pass out
Recover before the green bar reaches zero
The green bar is stamina; the red health bar appears after taking damage. Both begin at 100. Empty stamina interrupts many actions with a yawning animation, including some actions that normally cost no stamina; monsters can still hit you during it. Stop working and recover before trying another action beside an enemy.
- In town, visit the Inn and interact with its soup cauldron for the free daily serving. It restores 20 stamina and 20 health. After completing Upgrade the Inn, it restores 40 of each; do not budget the upgraded amount on your first week.
- Away from town, eat a food item whose displayed recovery matches the missing bar. Compare actual recovery in the cooking catalogue, and keep Museum specimens or quest ingredients separate from travel food.
- After unlocking Full Restore, check your mana before relying on it. Green stamina and blue mana are different resources; ordinary food recovery is not a guaranteed mana refill. See spell costs and mana recovery.
The early soup stop and exhaustion behaviour are checked against Inn revision 62428 and The Player revision 61704.
If the day already ended
With the oversleep penalty enabled, staying awake until 02:00 or losing all health ends the day. You wake at 10:00 instead of 06:00, with 75% of maximum stamina. The source lists no loss of items or money and no clinic fee, so the practical cost is next morning’s time and stamina.
If that penalty makes learning the map frustrating, open the in-game Settings and look for Oversleep Penalty. Day length is a separate option under Accessibility, with changes taking effect after sleeping. These settings do not require starting a new farm.
Use the Journal when you are unsure what to do
- Press Esc to open the Journal. In Quests, select the active task and read its details before taking items to an NPC.
- Use M for the map. The Journal also holds your inventory/equipment, skills, villagers, animals and spells; these are separate from the Almanac.
- After finding an unfamiliar item, open Almanac, choose its category, and check its sale value and Museum donation status. An undiscovered entry is not proof that your game is missing content: items appear after you acquire them.
- Need more time each day? While playing, open Settings → Accessibility → Day Time Speed and choose Longer or Longest. The change applies after sleeping, not immediately and not from the title-screen setting.
- Repeated clicking tiring you out? Assign Use Tool (Repeated) in Controls; it is unbound by default. Keep Use Tool (Charged) assigned as a separate action for upgraded tools.
- Stuck inside scenery or furniture? Open Settings → Accessibility → Move To A Free Location. This moves your character to an unoccupied position; it is not a destination selector for travelling across town.
- Switching to a guide in another window? Enable Settings → Gameplay → Pause on Unfocus to pause when the game loses focus. Pause Audio on Unfocus is a separate sound setting and should not be mistaken for the gameplay pause option.
| Journal area | Use it for |
|---|---|
| Main Menu | Current information, inventory and equipment. |
| Character Customization | Change the player's unlocked appearance options. |
| Quests | Active objectives and the exact next task. |
| Villagers | Friendship, known gifts and character information. |
| Animals | Owned-animal status and care checks. |
| Magic Spells | Review unlocked spells, pin one, or cast from the menu. |
| Map | Find locations and currently shown residents. |
| Almanac | Search discovered items, sale values and Museum donation state. |
| Settings | Gameplay, display, audio, accessibility and control options. |
The toolbar and Journal inventory grow with the bag: 10 slots at the start, 20 after using Basic Pouch, and 30 after using Bag Upgrade. Number keys select slots on the current toolbar page; Tab changes toolbar pages after an expansion. Buying an upgrade is not enough—use the item from the inventory and confirm the new slots appear.
For an item's full acquisition conditions, use the corresponding site reference rather than expecting the Almanac to explain the route.
Save without ending your day
Return to the farmhouse and interact with the Diary furniture to save your current progress while keeping the day in progress. Using the bed ends the day and saves automatically. Choose the Diary when you only want to preserve progress before leaving the game; choose the bed when you want to move to the next day.
The Diary is a physical object, separate from the Journal menu opened with Esc. A Diary placed outdoors cannot be used to save, even though the game lets you place it on the farm. If you moved it while decorating, put it back inside the farmhouse and interact there. Farmhouse save functions, revision 62247 and Diary placement rule, revision 57383.